








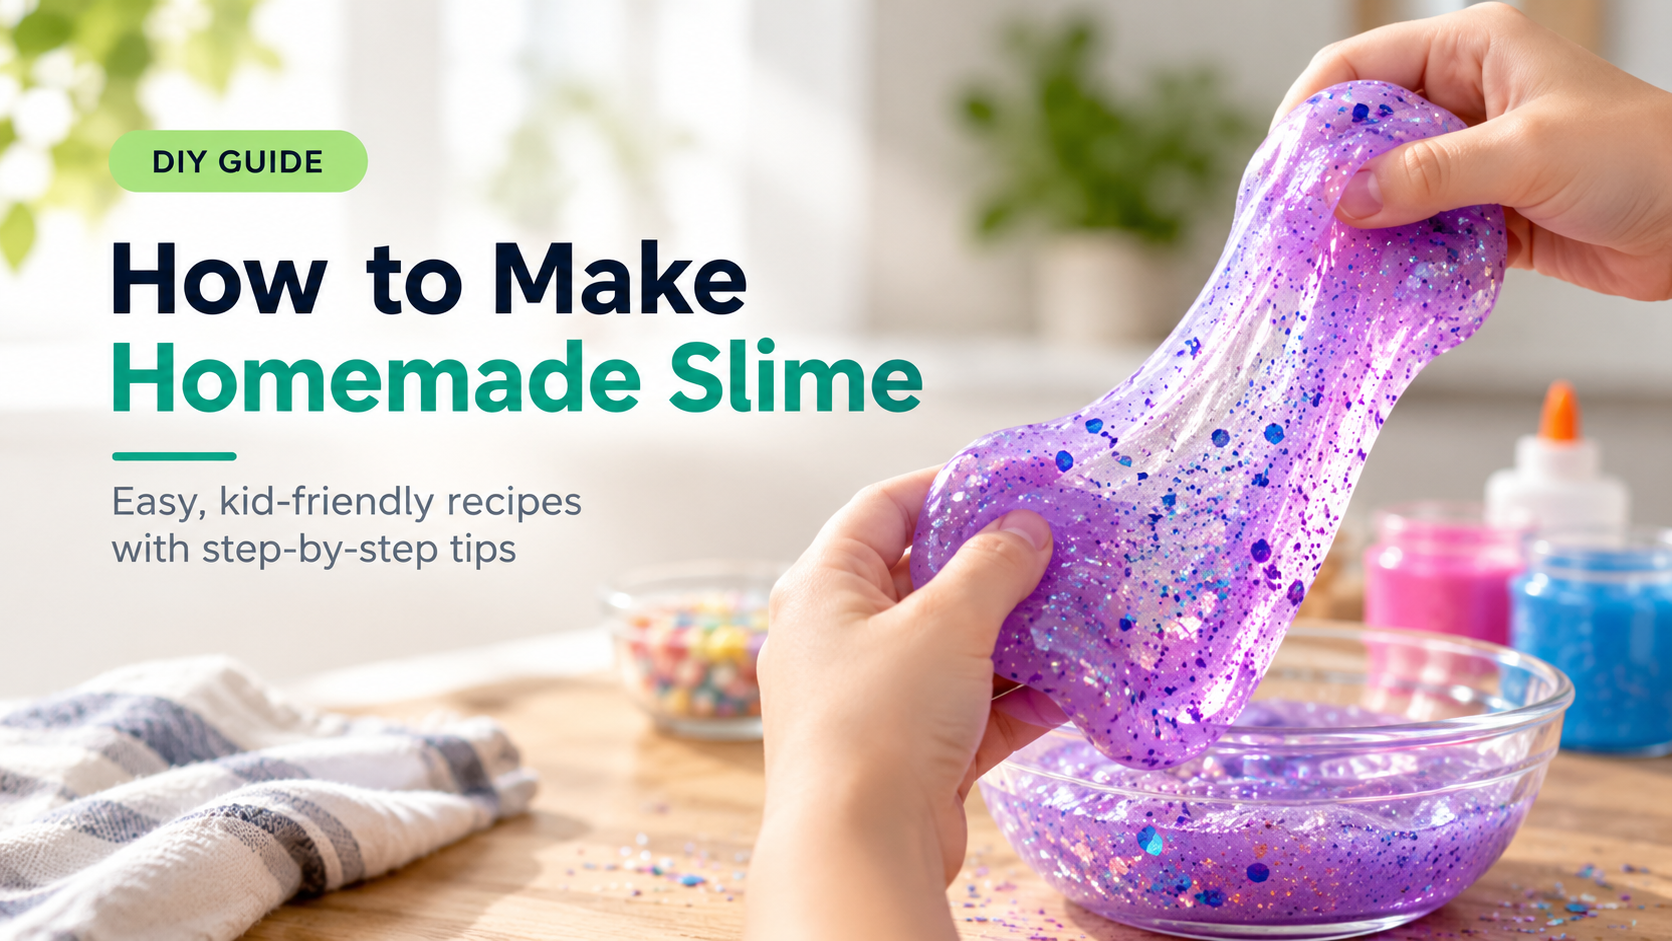

Stretchy, squishy, sparkly and endlessly satisfying: slime is one of the most popular crafts for kids, and plenty of adults enjoy it too. The best part is that you can make it at home in about five minutes with a handful of simple ingredients.
In this complete guide you will learn how slime works, what you need, six tried-and-tested recipes (classic, clear, fluffy, liquid starch, cornstarch and marshmallow), how to customize your slime, how to fix common problems and how to store and clean up safely. Because slime involves a chemical “activator” in most recipes, we have also put safety first, with clear rules every slime maker should know.
Quick answer: the easiest homemade slime recipe
- Pour 1/2 cup (120 ml) of white washable PVA school glue into a bowl.
- Stir in 1/2 teaspoon of baking soda and a few drops of food coloring.
- Add 1 tablespoon of contact lens solution (one that lists boric acid and sodium borate) and stir until the mixture pulls away from the bowl.
- Knead for 2 to 3 minutes. Add a few more drops of solution only if it is still sticky.
What Is Slime and How Does It Work?
Slime is a stretchy, gooey material that behaves partly like a liquid and partly like a solid. Most homemade slime starts with white or clear school glue, which contains a plastic-like ingredient called polyvinyl acetate (PVA). In the glue, PVA is made of long, flexible chains that slide past each other, which is why glue pours like a liquid.
When you add an activator, the borate ions in it link those long chains together. This process is called cross-linking. Instead of sliding freely, the chains now form a loose, tangled network that traps water. The result is slime: a soft, stretchy material that can flow slowly when pulled gently and snap if you yank it quickly.
That is also why a little more activator makes slime stiffer and rubbery, and too little leaves it sticky. Making slime is, quite literally, a simple chemistry experiment you can eat lunch next to (but not with).
Slime Safety: Read This First
Most slime recipes are safe for children when made and used properly, but some ingredients can irritate the skin, and slime should never be eaten. The activator is the main concern. Contact lens solution, liquid starch and borax all contain borate compounds, and while they are used in small amounts, there have been reports of skin irritation and, rarely, burns, mostly linked to strong, undiluted activators or very long contact with the skin.

Important safety notes
- Children should always make slime with an adult who handles the activators and any microwave or heat.
- Do not let children put slime in their mouths. If someone swallows a large amount, or you have any concern, contact your local poison control center or a doctor.
- If your child has eczema, very sensitive skin or open cuts, choose a borate-free recipe such as cornstarch slime, or avoid slime play until the skin heals.
- Rinse the skin with water and stop playing if redness, itching or burning develops.
- Use an ordinary contact lens solution that lists boric acid and sodium borate, in the small amounts the recipe gives. Never substitute stronger chemical cleaners, and never mix household chemicals.
- Slime with small add-ins such as beads is not suitable for children under 3.
What You Need to Make Slime

| Ingredient | What it does | Notes and substitutes |
|---|---|---|
| White washable PVA glue | Provides the polymer that forms slime | Choose washable school glue. Wood glue, super glue and craft cement do not work and are unsafe. |
| Clear PVA glue | Makes see-through slime | Works the same way but takes longer to clear. |
| Contact lens solution | Activator that cross-links the glue | Must list boric acid and sodium borate. Plain saline does not work. |
| Baking soda | Helps the activator work and firms the slime | About 1/2 teaspoon per 1/2 cup of glue. |
| Liquid starch | Alternative activator | Laundry starch containing sodium tetraborate; adults should handle it. |
| Shaving foam | Makes slime fluffy | Use plain white foam, not gel. |
| Food coloring | Adds color | Gel colors give stronger shades; a little can stain skin or surfaces. |
| Glitter, sequins, foam beads | Adds sparkle and texture | Cosmetic or biodegradable glitter is a better choice. Keep small items away from toddlers. |
6 Types of Homemade Slime
Different recipes give you very different slimes. Here is a quick overview before we dive into the step-by-step instructions.

Recipe 1: Classic Homemade Slime
Time: 5 minutes • Difficulty: Easy • Makes: about 1 cup of slime

Ingredients
- 1/2 cup (120 ml) white washable PVA glue
- 1/2 teaspoon baking soda
- A few drops of food coloring
- 1 tablespoon contact lens solution (with boric acid and sodium borate), plus a little extra if needed
- Optional: glitter or sequins
Instructions
- Pour the glue into a clean mixing bowl.
- Add the baking soda and food coloring and stir until the color is even. Mix in any glitter now.
- Add the contact lens solution slowly, about 1 teaspoon at a time, stirring after each addition. The mixture will thicken and start to pull away from the bowl.
- Knead with clean hands for 2 to 3 minutes. It will be sticky at first and will become smooth and stretchy as you work it.
- Adjust. If it is still sticky after kneading, add a few drops of solution and knead again. Too much activator makes slime stiff, so go slowly.
Recipe 2: Clear Slime
Time: 10 minutes plus resting time • Difficulty: Easy
Ingredients
- 1/2 cup (120 ml) clear washable PVA glue
- 1/2 teaspoon baking soda
- About 1 tablespoon contact lens solution
- Optional: a drop of food coloring, glitter or small charms
Instructions
- Mix the clear glue and baking soda in a bowl, stirring gently to avoid making bubbles.
- Add color or glitter if you like.
- Stir in the contact lens solution slowly until the slime forms, then knead gently.
- The slime will look cloudy and full of tiny bubbles. Place it in an airtight container and let it rest for 2 to 3 days. The bubbles rise and the slime turns glassy and clear.
Recipe 3: Fluffy Slime
Time: 10 minutes • Difficulty: Easy
Ingredients
- 1/2 cup (120 ml) white washable PVA glue
- About 3 cups plain white shaving foam (not gel)
- 1/2 teaspoon baking soda
- 1 tablespoon contact lens solution
- Food coloring (optional)
Instructions
- Put the glue in a large bowl and add the shaving foam. Fold gently until the mixture is light and fluffy.
- Stir in the food coloring.
- Add the baking soda and mix well.
- Add the contact lens solution a little at a time until the slime pulls away from the bowl.
- Knead lightly. Fluffy slime is softer and less stretchy than classic slime, and it will not like heavy kneading.
Recipe 4: Liquid Starch Slime
Time: 5 minutes • Difficulty: Easy, with adult help
Ingredients
- 1/2 cup (120 ml) white or clear washable PVA glue
- About 1/4 to 1/2 cup liquid laundry starch (containing sodium tetraborate)
- Food coloring and glitter (optional)
Instructions
- Add the glue, color and glitter to a bowl and stir.
- An adult adds about 1/4 cup of liquid starch slowly, stirring continuously.
- Keep adding starch a tablespoon at a time until the slime comes together and no longer sticks to your fingers.
- Knead for a few minutes. Wear gloves if your skin is sensitive, and wash hands afterward.
Recipe 5: Cornstarch Slime (No Glue, No Activator)
Time: 5 minutes • Difficulty: Very easy • Great for: sensitive skin and quick play
Ingredients
- 1/2 cup hair conditioner (or a similar amount of hand soap or shampoo)
- About 1 cup cornstarch, added gradually
- Food coloring (optional)
Instructions
- Add the conditioner and a few drops of food coloring to a bowl.
- Add the cornstarch a spoonful at a time, stirring after each addition.
- When the mixture becomes too thick to stir, knead with your hands. Add more cornstarch if it is sticky or a few drops of conditioner if it is crumbly.
This slime feels more like soft, smooth dough than glossy, stretchy slime, and it dries out within a day or so. It is best used the same day and then discarded.
Recipe 6: Marshmallow Slime (Taste-Safe)
Time: 10 minutes • Difficulty: Easy, with adult help
Ingredients
- 1 cup mini marshmallows
- 1 tablespoon vegetable or coconut oil
- About 1/2 cup cornstarch, plus extra for dusting
- Food coloring (optional)
Instructions
- An adult places the marshmallows and oil in a microwave-safe bowl and heats them for 20 to 30 seconds, until puffed and soft.
- Stir until smooth and add a drop of food coloring.
- Let the mixture cool until it is warm, not hot.
- Add the cornstarch a tablespoon at a time and knead with oiled or dusted hands until stretchy and no longer sticky.
“Taste-safe” means that the ingredients are food items, not that the slime is meant to be eaten. It also spoils quickly, so do not keep it for more than a day.
How to Customize Your Slime
Once you have mastered the basics, personalizing slime is half the fun.
- Colors: Mix food colorings to create custom shades. Remember that slime usually looks lighter once the activator is added, so start with a deeper color.
- Glitter and sequins: Add them before activating so they spread evenly through the slime.
- Foam beads or charms: These create crunchy textures but are only for older children, as they are a choking hazard.
- Glow effects: Non-toxic glow-in-the-dark powder or paint made for crafts can give slime a glowing effect.
- Scents: A drop or two of a skin-safe fragrance or extract can help, but strong scents can irritate and are best avoided for young children.
- Texture: Add shaving foam for fluffy slime, or a small amount of lotion for a softer, buttery feel.
Slime Troubleshooting: How to Fix Common Problems

My slime is too sticky
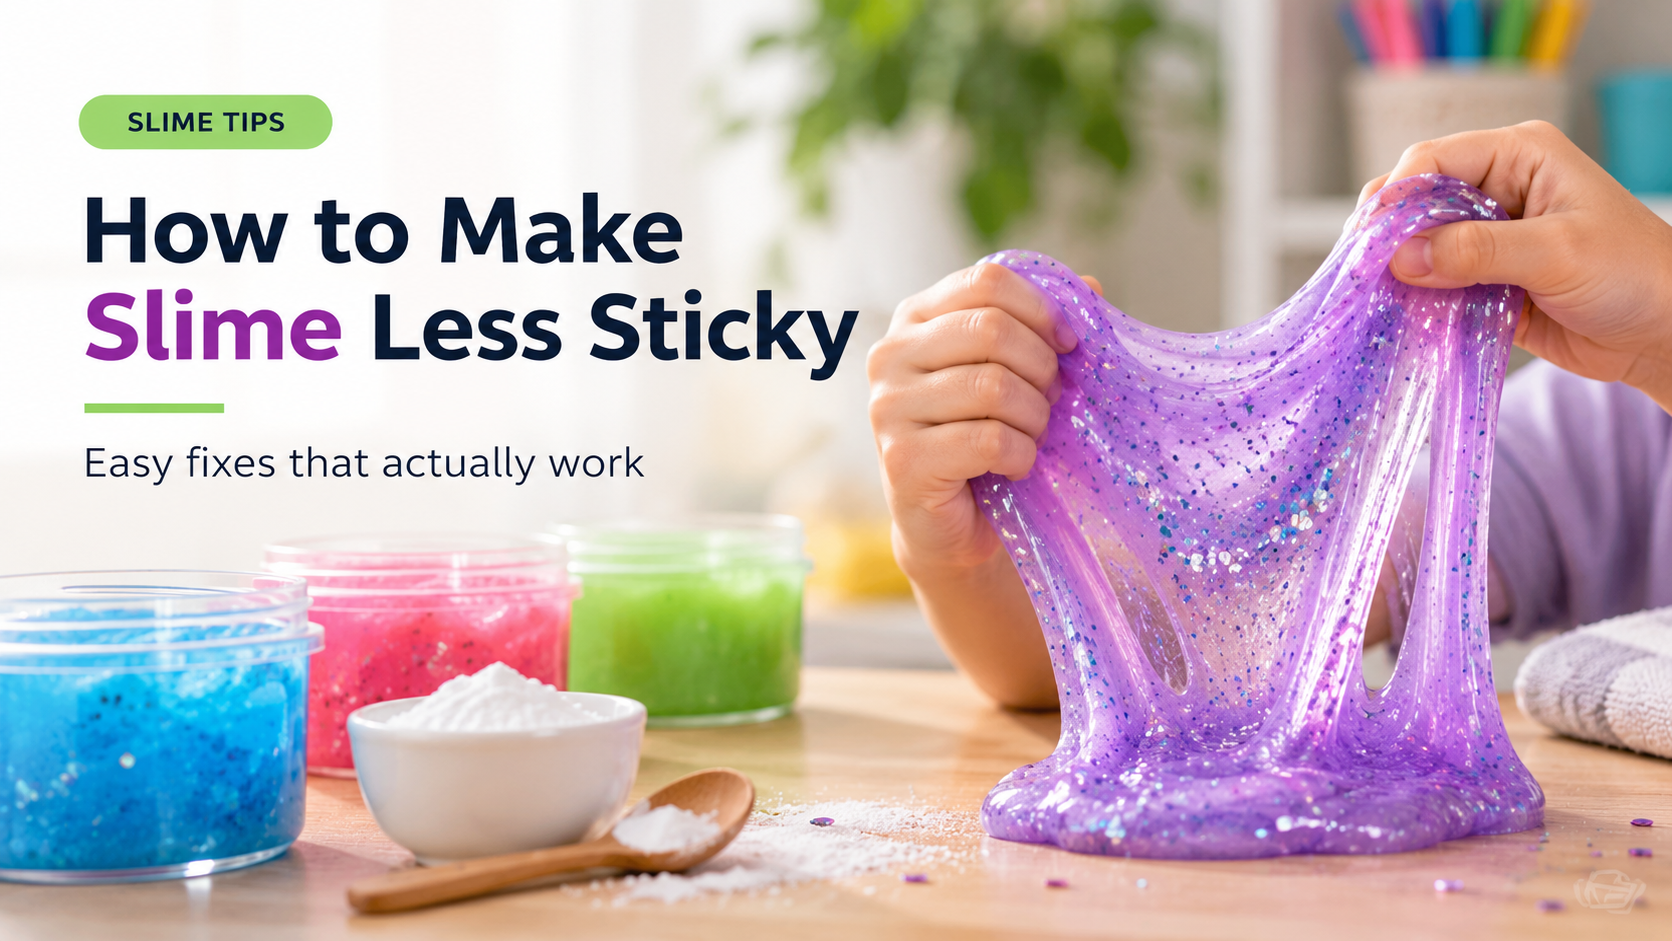
This is the most common issue. Knead for two full minutes first, because slime often gets less sticky as you work it. If it still sticks, add a few drops of activator, knead again, and repeat. Add the activator gradually to avoid overshooting.
My slime is too stiff or rubbery
You have probably added too much activator. Knead in a little warm water, a small amount of lotion or a pea-sized dab of glue until it softens.
My slime will not come together
Check that your contact lens solution lists boric acid and sodium borate. If it does not, it will not activate the glue. Also make sure you are using real PVA glue.
My slime is full of bubbles
Bubbles come from stirring too quickly. Seal the slime in an airtight container and let it sit for a day or two. The bubbles rise and disappear.
How to Store Slime
- Keep slime in a sealed, airtight container or zip-top bag when not in use. Air makes it dry out.
- Store at room temperature, away from direct sun and heat.
- Glue-based slime typically lasts one to two weeks, longer if kept clean. Cornstarch and marshmallow slimes last only a day or two.
- Wash hands before playing, and keep slime off floors, carpets, pets and food areas.
- Throw it away if it becomes dirty, starts to smell, grows mold or turns slimy and watery.
How to Get Slime Out of Clothes, Carpet and Hair
Slime sticks to everything. Fortunately, it comes out with the right approach.
- Clothes and fabric: Scrape off as much slime as you can. Soak the area in white vinegar for 15 to 30 minutes, and pick off the loosened slime with a toothbrush. Then wash as usual.
- Carpet and upholstery: Remove the bulk with a spoon, apply white vinegar and blot, then clean the area with mild soapy water. Test on a hidden spot first.
- Hair: Work a generous amount of conditioner or a little cooking oil into the slime, comb through gently, and then shampoo. Do not cut hair unless there is no other option.
- Hard surfaces: Wipe with warm soapy water. Dried slime softens when it is dampened with vinegar.
Slime as a Fun Science Activity
Slime makes a great hands-on science lesson. Try these simple experiments with children:
- Change one variable. Make three batches with different amounts of activator and compare how stretchy and sticky each one is.
- Slow and fast pull. Pull a piece slowly and watch it stretch, then pull fast and see it snap. This shows how slime behaves like both a liquid and a solid.
- Predict and observe. Ask children to guess what will happen when each ingredient is added, then check their predictions.
- Compare recipes. Make the classic and cornstarch versions and discuss why one is glossy and stretchy and the other like dough.
Common Slime-Making Mistakes
- Adding all the activator at once. This makes slime hard and rubbery.
- Using the wrong glue. Only PVA-based school glue works.
- Using plain saline or contact solution without borates. It will not activate the glue.
- Skipping the kneading. Slime often feels sticky until it is well worked.
- Storing it uncovered. It dries out overnight.
- Making it on carpet or fabric. Use a tray or table that can be wiped clean.
Slime-Making Supplies Worth Having
| Item | Why it helps | What to look for |
|---|---|---|
| Washable PVA school glue (white and clear) | The base of glue-based slime | Washable, non-toxic, labeled PVA |
| Contact lens solution | Activator for most recipes | Lists boric acid and sodium borate |
| Gel food coloring | Bright colors from a few drops | Food-grade, water-based gels |
| Cosmetic or biodegradable glitter | Sparkle with less microplastic | Fine, craft-safe, non-toxic |
| Airtight containers | Keep slime fresh for longer | Screw lids or snap-tight seals; small sizes for gifting |
| Silicone mat or tray | Protects surfaces and cleans easily | Wipeable, non-stick, large enough for play |
| Measuring cups and spoons | Consistent results every time | Dedicated craft set, not used for food |
| Slime kits | Convenient for parties and gifts | Clear instructions, age label and a full ingredient list |
Tips for a Slime Party
- Set up a “slime station” with pre-measured glue, colors and add-ins in small cups.
- Cover the table with a plastic cloth or tray.
- Pre-mix activator portions so an adult handles them safely.
- Give each child a labeled container to take their slime home.
- Keep wipes and a bowl of soapy water nearby, and have everyone wash hands at the end.
Frequently Asked Questions
Is homemade slime safe for kids?
It can be when an adult supervises, safe recipes are used and slime is never put in the mouth. Children with very sensitive skin or eczema may do better with cornstarch slime, and some children should avoid slime entirely.
Can I make slime without glue?
Yes. Cornstarch slime and marshmallow slime use no glue. They feel different from glue slime, and they do not last as long, but they are fun and quick.
Can I make slime without contact lens solution?
Yes. You can use liquid laundry starch as an activator in glue slime, or make a glue-free version with cornstarch or marshmallows.
Why is my slime sticky?
It probably needs more activator or kneading. Knead for two minutes, then add a few drops of activator at a time.
How long does homemade slime last?
Glue-based slime usually lasts one to two weeks if kept in an airtight container and kept clean. Cornstarch and marshmallow slimes last a day or two.
Why does clear slime stay cloudy?
Tiny air bubbles cause the cloudiness. Seal the slime in a container and wait two to three days, and it will clear up.
How do I make slime more stretchy?
Use a little less activator and knead well. Adding a small amount of lotion or warm water can improve stretch.
Final Thoughts
Homemade slime is a quick, creative and educational activity that costs very little. Start with the classic recipe, add the activator slowly, knead patiently and follow the safety rules. Once you have the basics down, you can experiment with clear, fluffy, glow-in-the-dark and other custom slimes.
Grab a bowl, pour the glue and get ready to stretch, squish and enjoy.
Disclaimer: This article is for general information and entertainment. Slime making involves household chemicals that can irritate skin and eyes. Adults should supervise children at all times, follow product labels, and stop immediately if irritation occurs. Slime is not food and should not be eaten. For medical concerns, contact a healthcare provider or your local poison control center.